Learning 3D Modeling for TF2
For a while now i've been working on level design projects at TF2Maps.net, and something that has been a huge need in the community is getting models for the game tailored to certain game play needs or to fit into a theme.
Having run into this kind of problem myself I decided to take it on myself to learn modeling. I'm the kind of person who goes way out of his way to help fill a need for whatever organization I'm in.
Humble beginnings
First, I chose to use a program called Blender to do my modeling, and that is because it's completely free and very well featured.
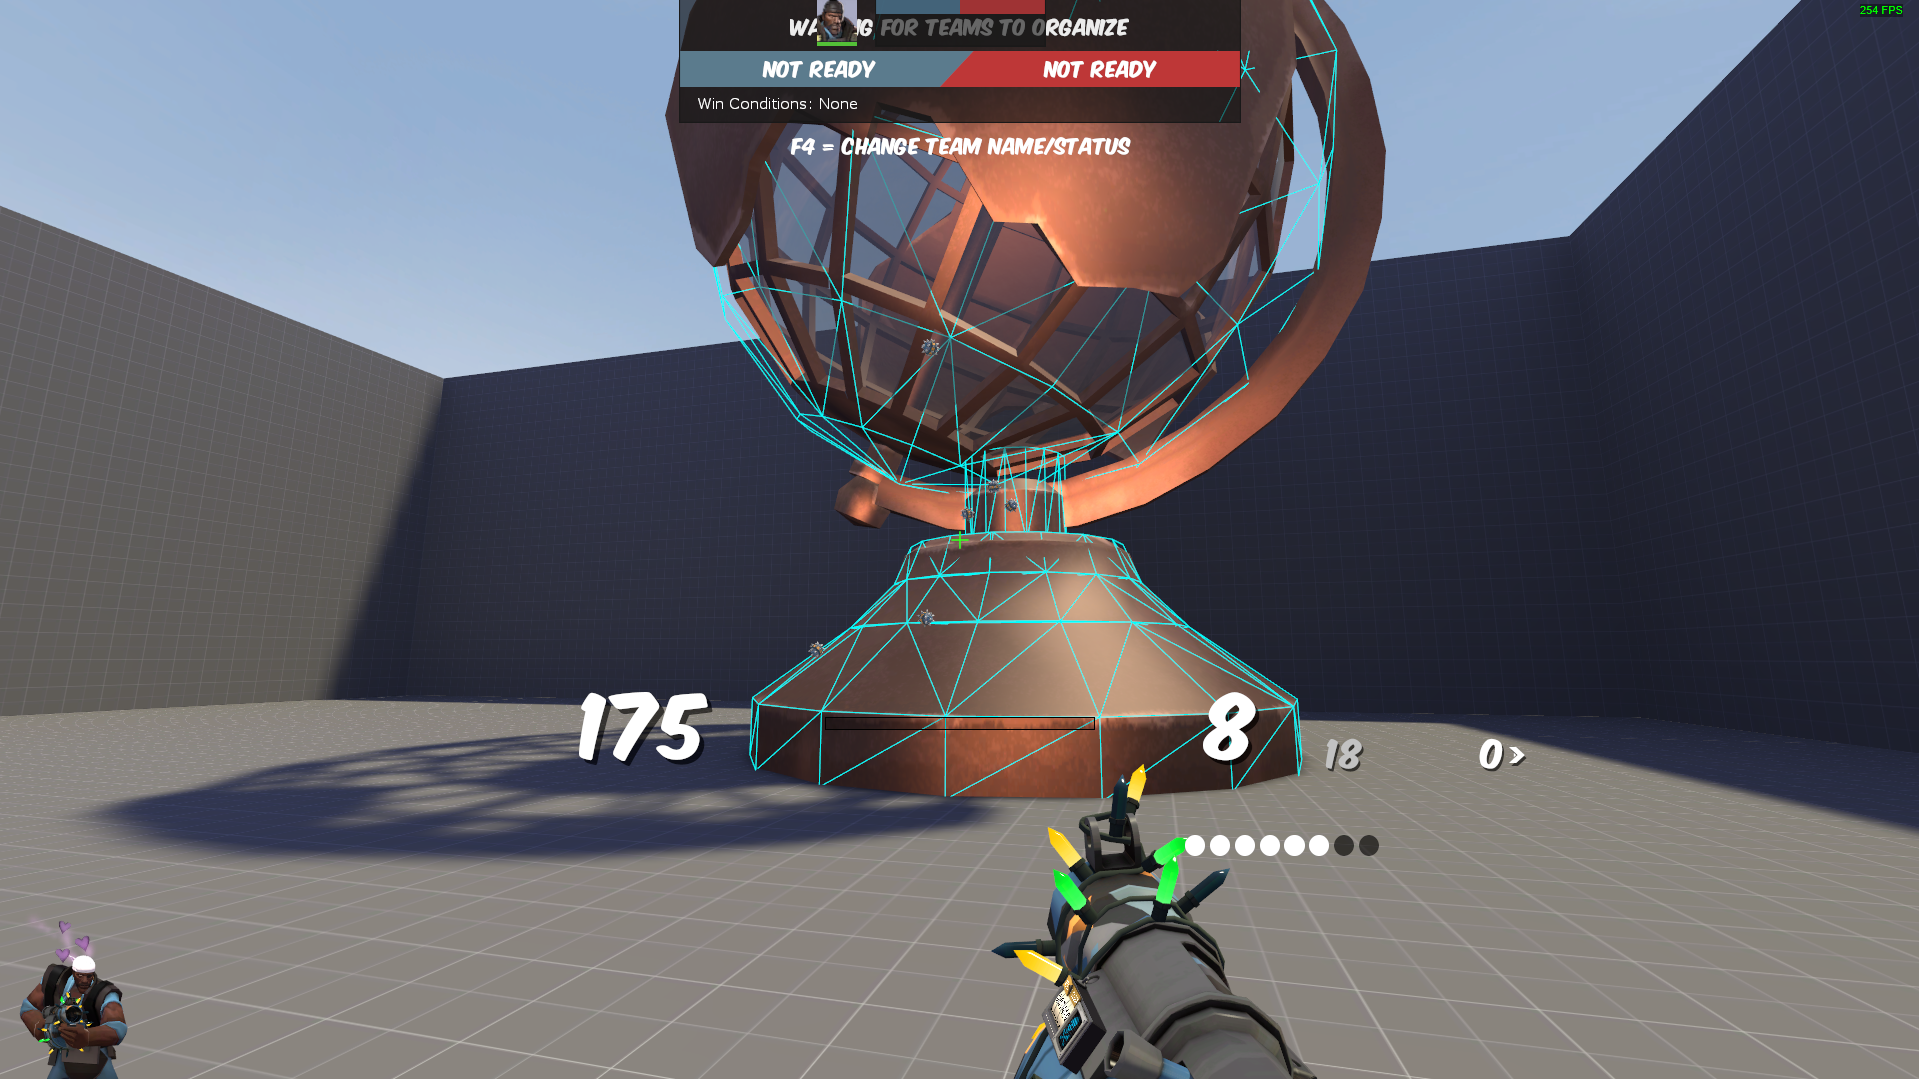
After following a few tutorials and getting to know the program, I volunteered to make a "hero prop" for the map ctf_kelly. The map's author (MegapiemanPHD) published dev log videos and said he will at some point want a prop made for the center piece, so I just contacted him and offered to do it.
Basically the idea was it was a giant bronze globe as a centerpeice for a retro futuristic plaza. This would turn out to challenge my very new skills a lot, but as such I learned a great deal from this.
First Iteration
Having no idea what I would actually make, (no concept art or anything), I just searched on ArtStation for "globes" and tried to emulate what I saw. The big common elements I saw were the grid like sphere with contients on the outside, so that was the rough plan.
This was the first attempt I made at making it:
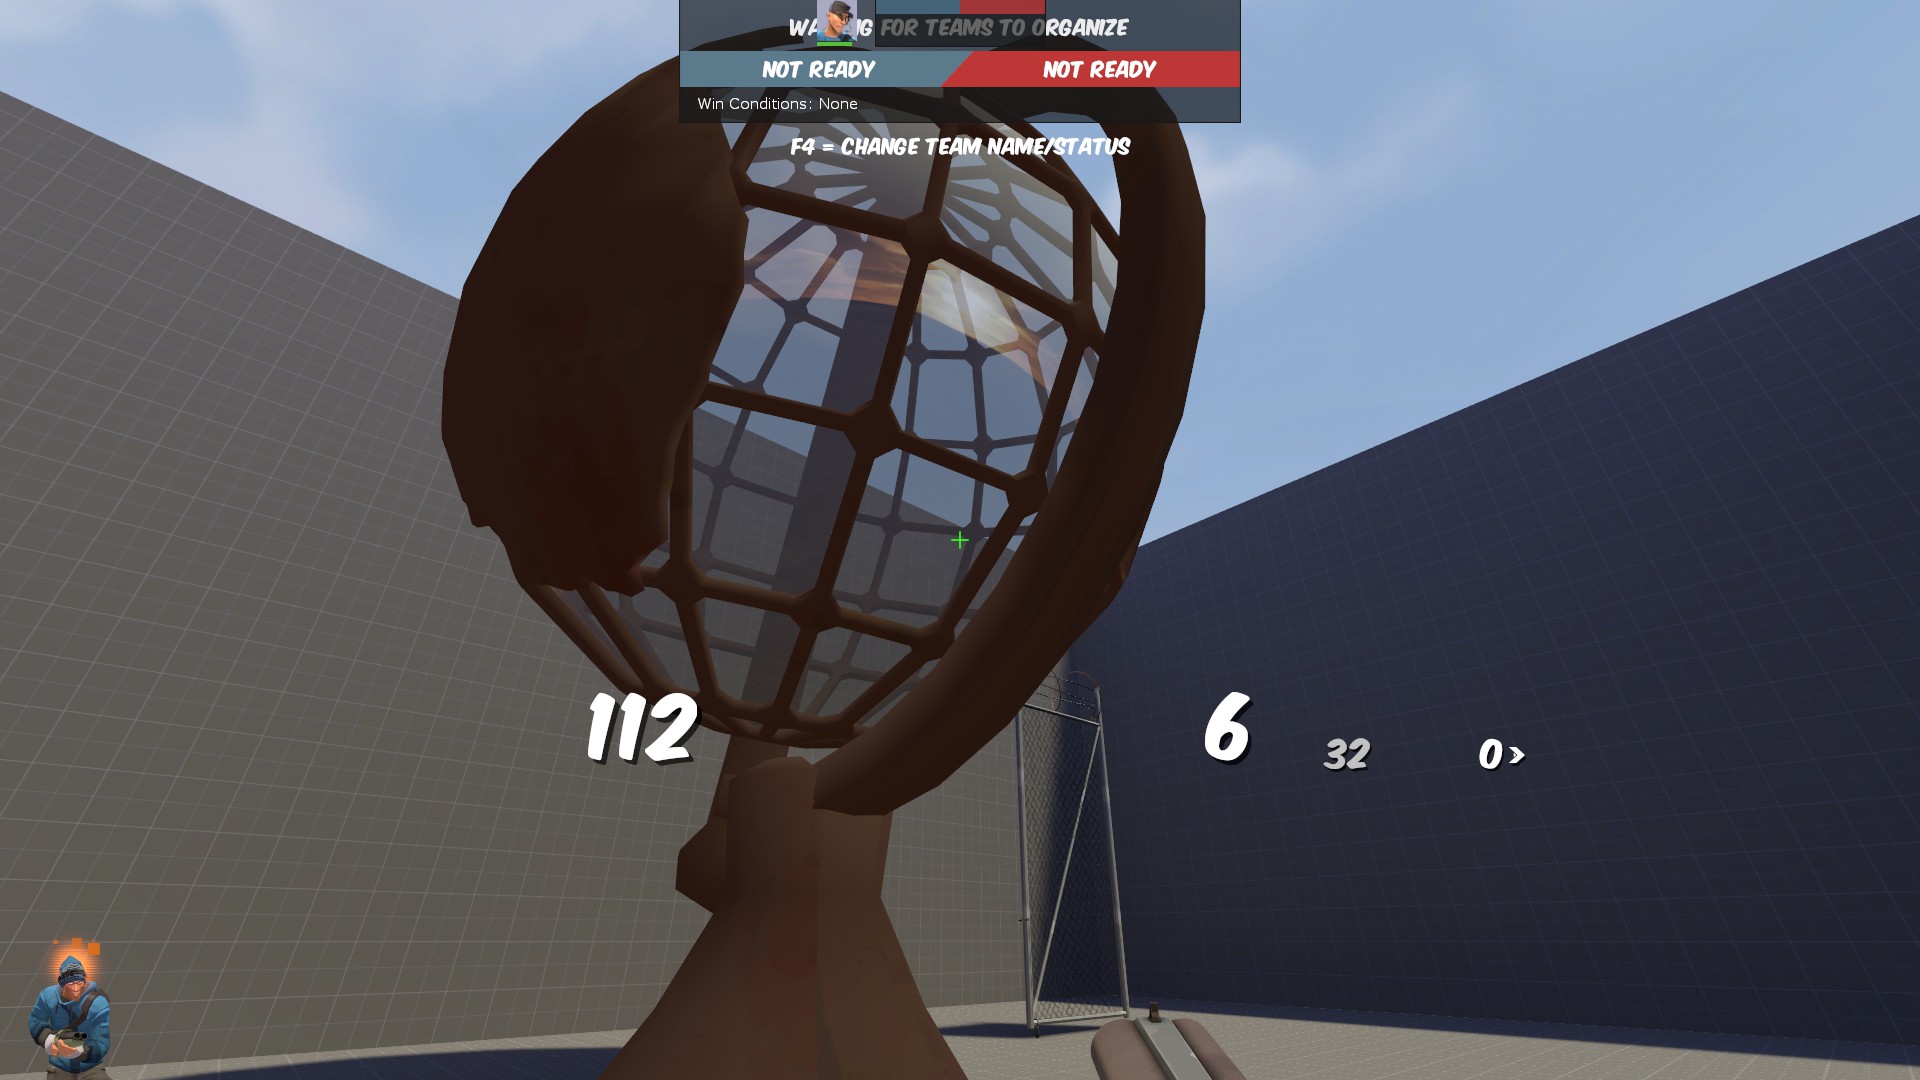
The next part was getting it into the game engine, which was a lot harder than I expected. I used a Blender plugin called Blender Source Tools which allows you to export a mesh to the '.smd' format that Source engine requires. You also need to learn to write QC files and follow a process of 'compiling' the model data so the engine can actually use it.
After getting the mesh in engine and applying a very basic texture to it, this is what I had:
Yeah okay, so it looks not the best, a bit like chocolate, and is really low poly, but hey I got something I made from scratch into the engine! This is a good but humble start.
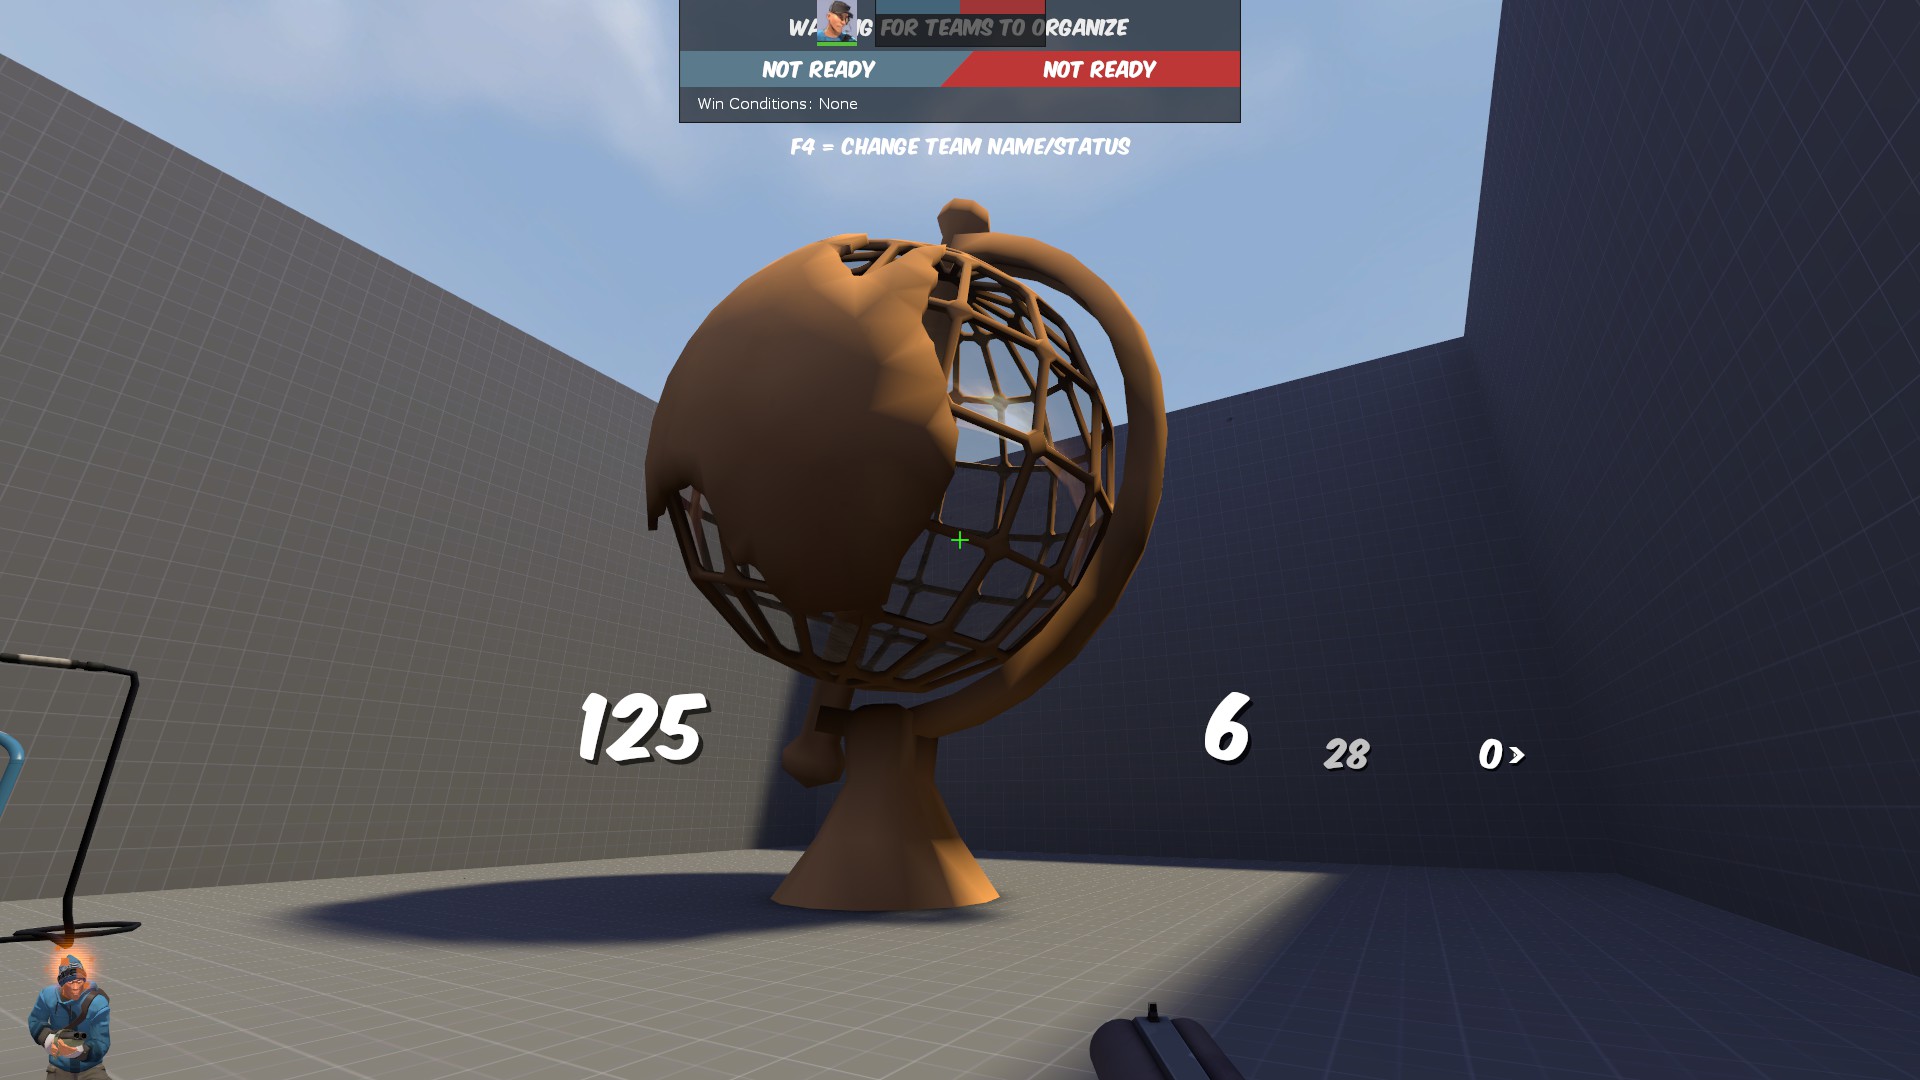
So in order to make it not look so "chocolatey" I started learning about "shaders" in the engine. In this case, there were other inputs to the shader I wasn't using which would give it that specular sheen I wanted. See the thing about 3D rendering is that you have different types of inputs. So mostly I was just using the color input, but to get it to actually reflect the world and have more of a gloss look to it, you needed to add a specular map. In my case I just uniformly applied it to the whole object.
This is the result with the specular map and cubemaps:
Defiantly an improvement; i'd believe that was a bronze metallic material.
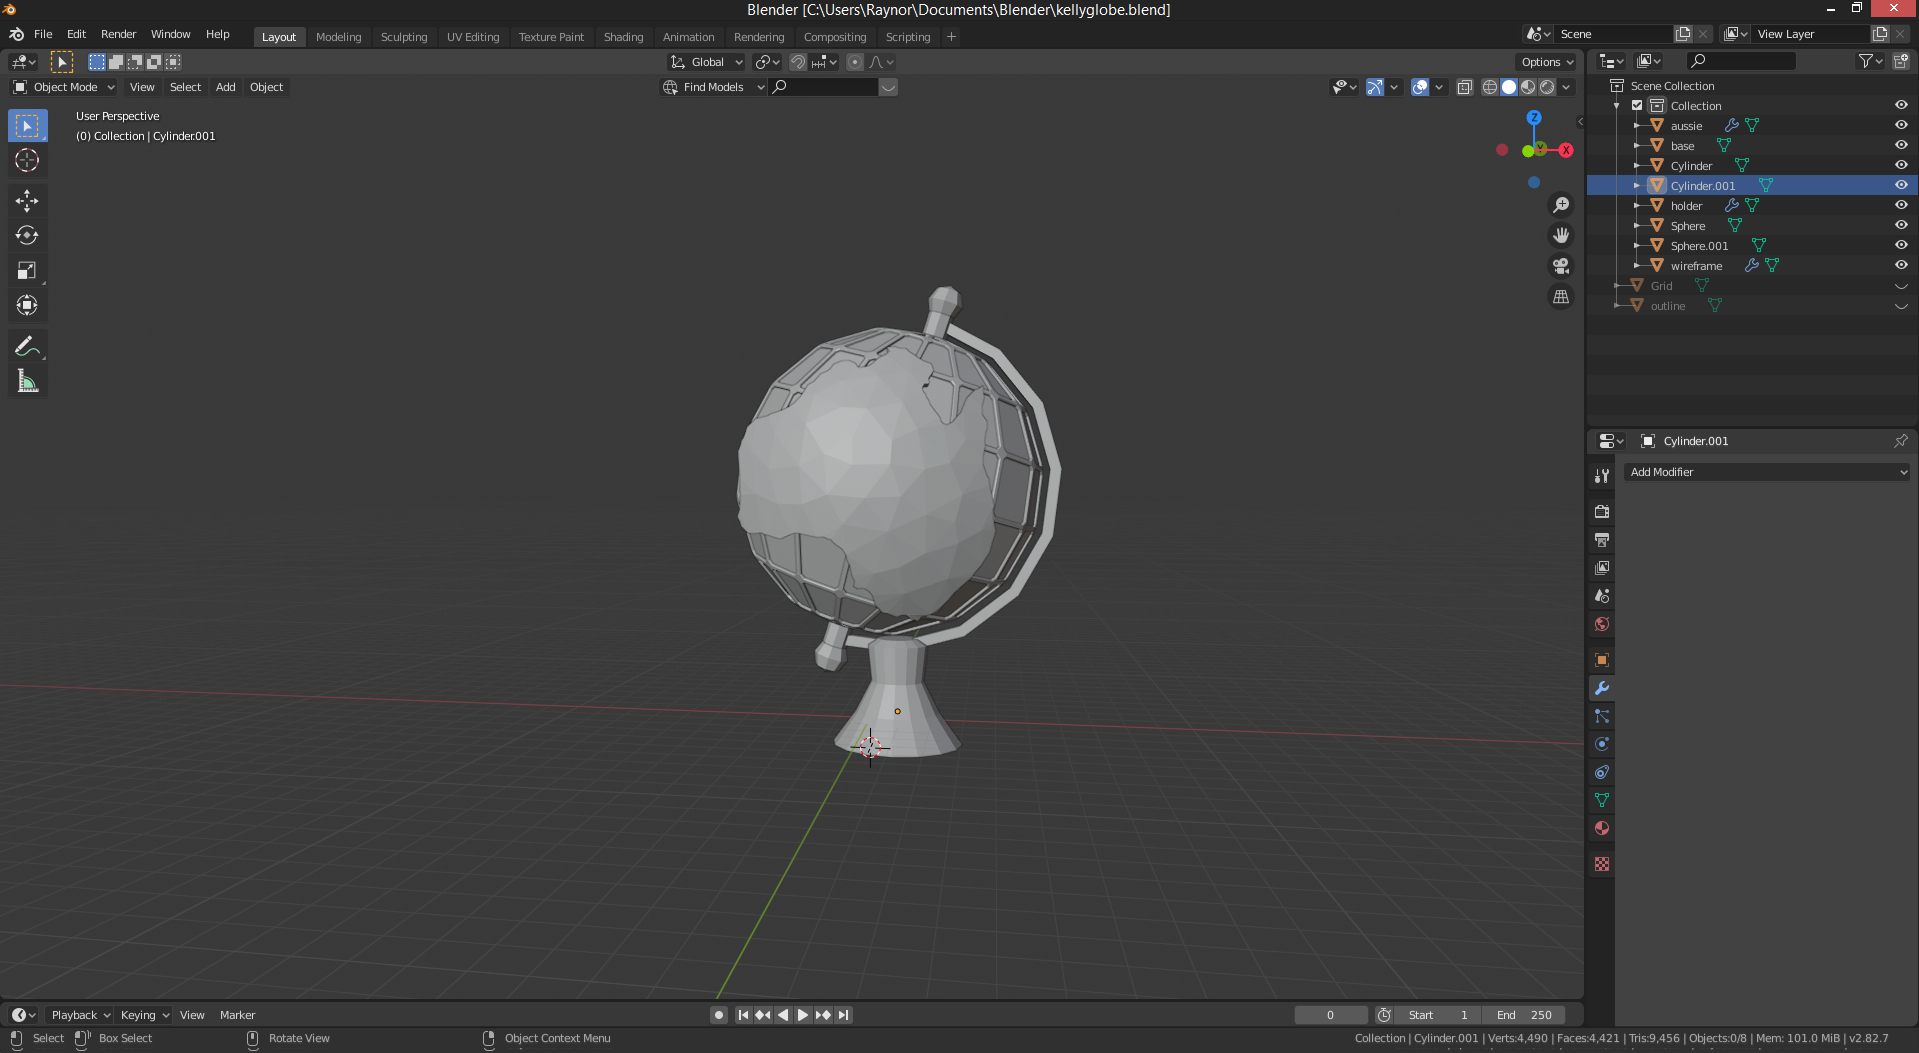
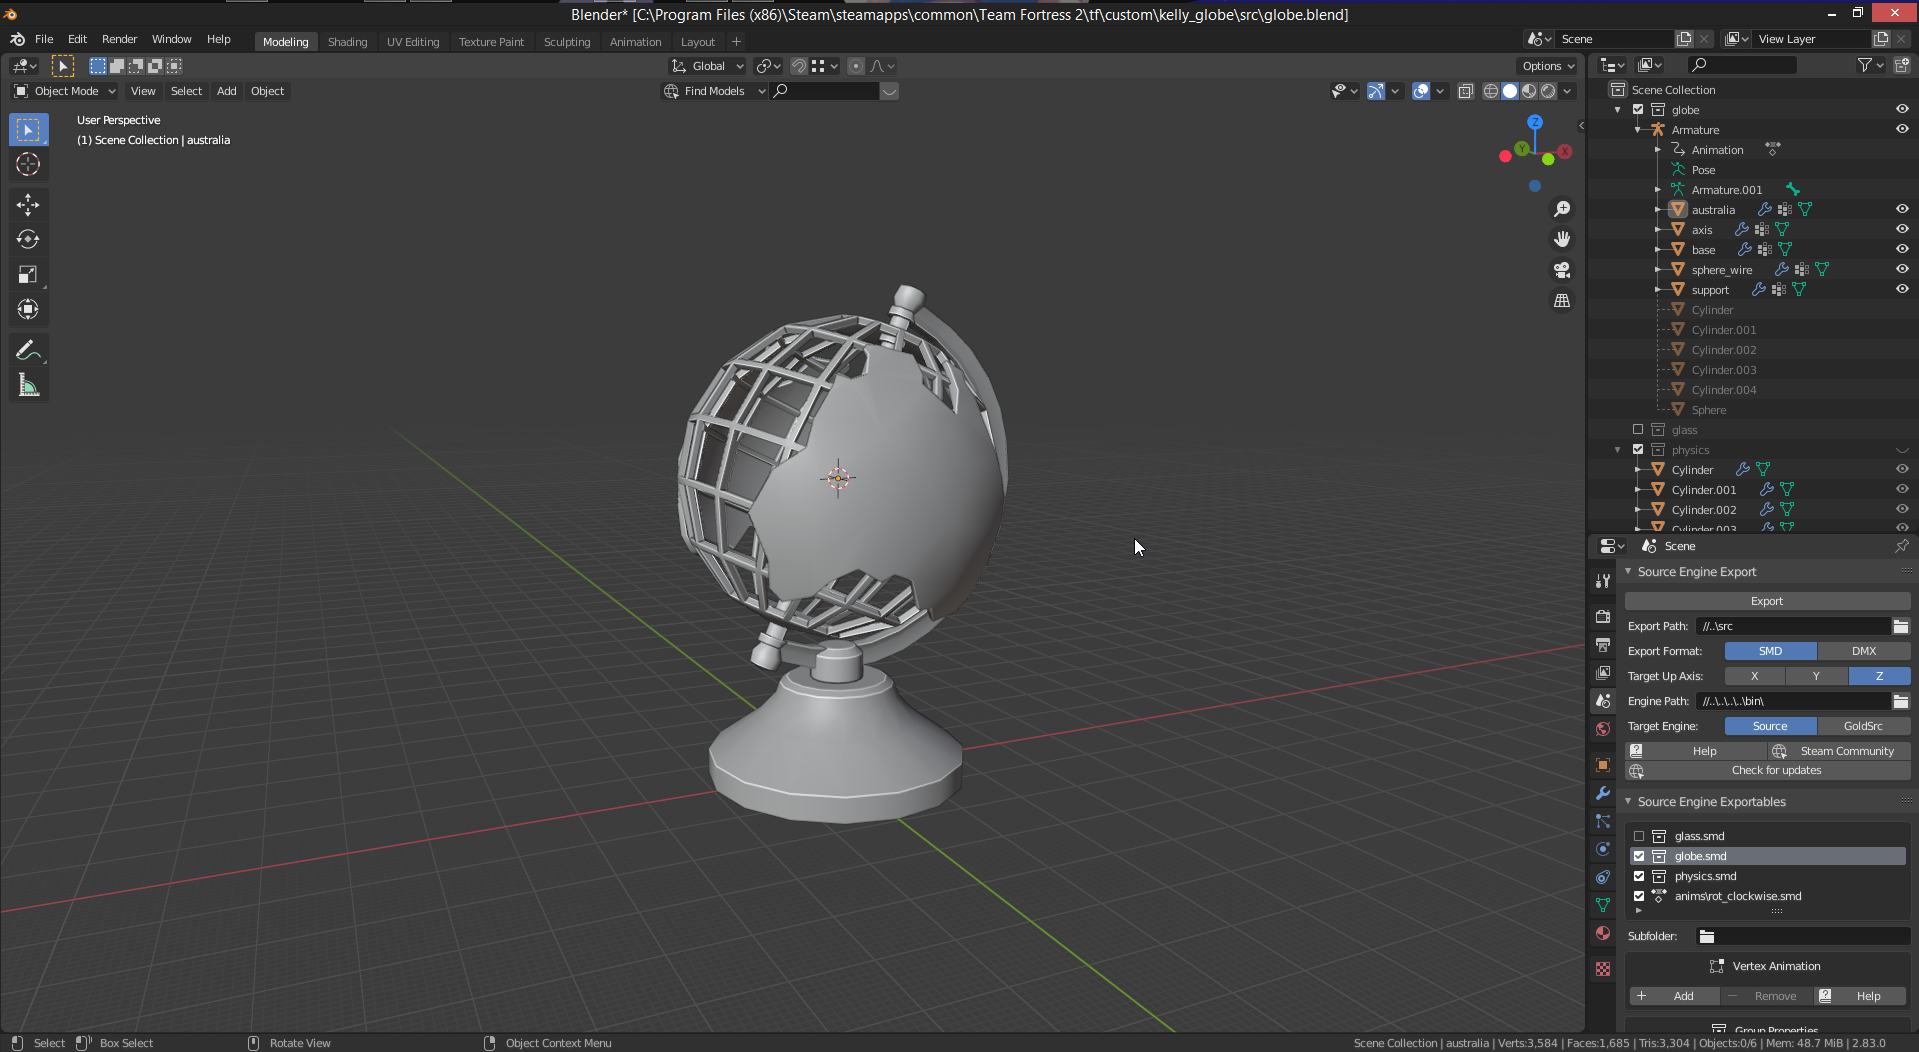
Redoing the Model
Megapieman and myself both felt the current model I had made looked too "off balance" and also given this was in gameplay space, players will be able to jump on or around this, so smoothing out the base to be more gameplay friendly was a good idea. I would end up redo-ing the model for this prop probably 5 times in total by the end.
This is what I came up with, basically having remodeled it from scratch a few times:
Texturing
I only really put a basic texture on this thing, which was mostly just the bronze we saw before, but I did try a few techniques I know about "stylized" art.
- Gentle gradient that leads the eye up to a focal point. The base of objects is generally more "dirty" too
- Edge wear on the edges
- Scratches or other imperfections
For texturing I tried doing it only using Blender since I felt that using Gimp (another program i'm very comfortable with) was too hard since I couldn't get a good preview of the peice easily.
This is the only screenshot I took from the texturing process:
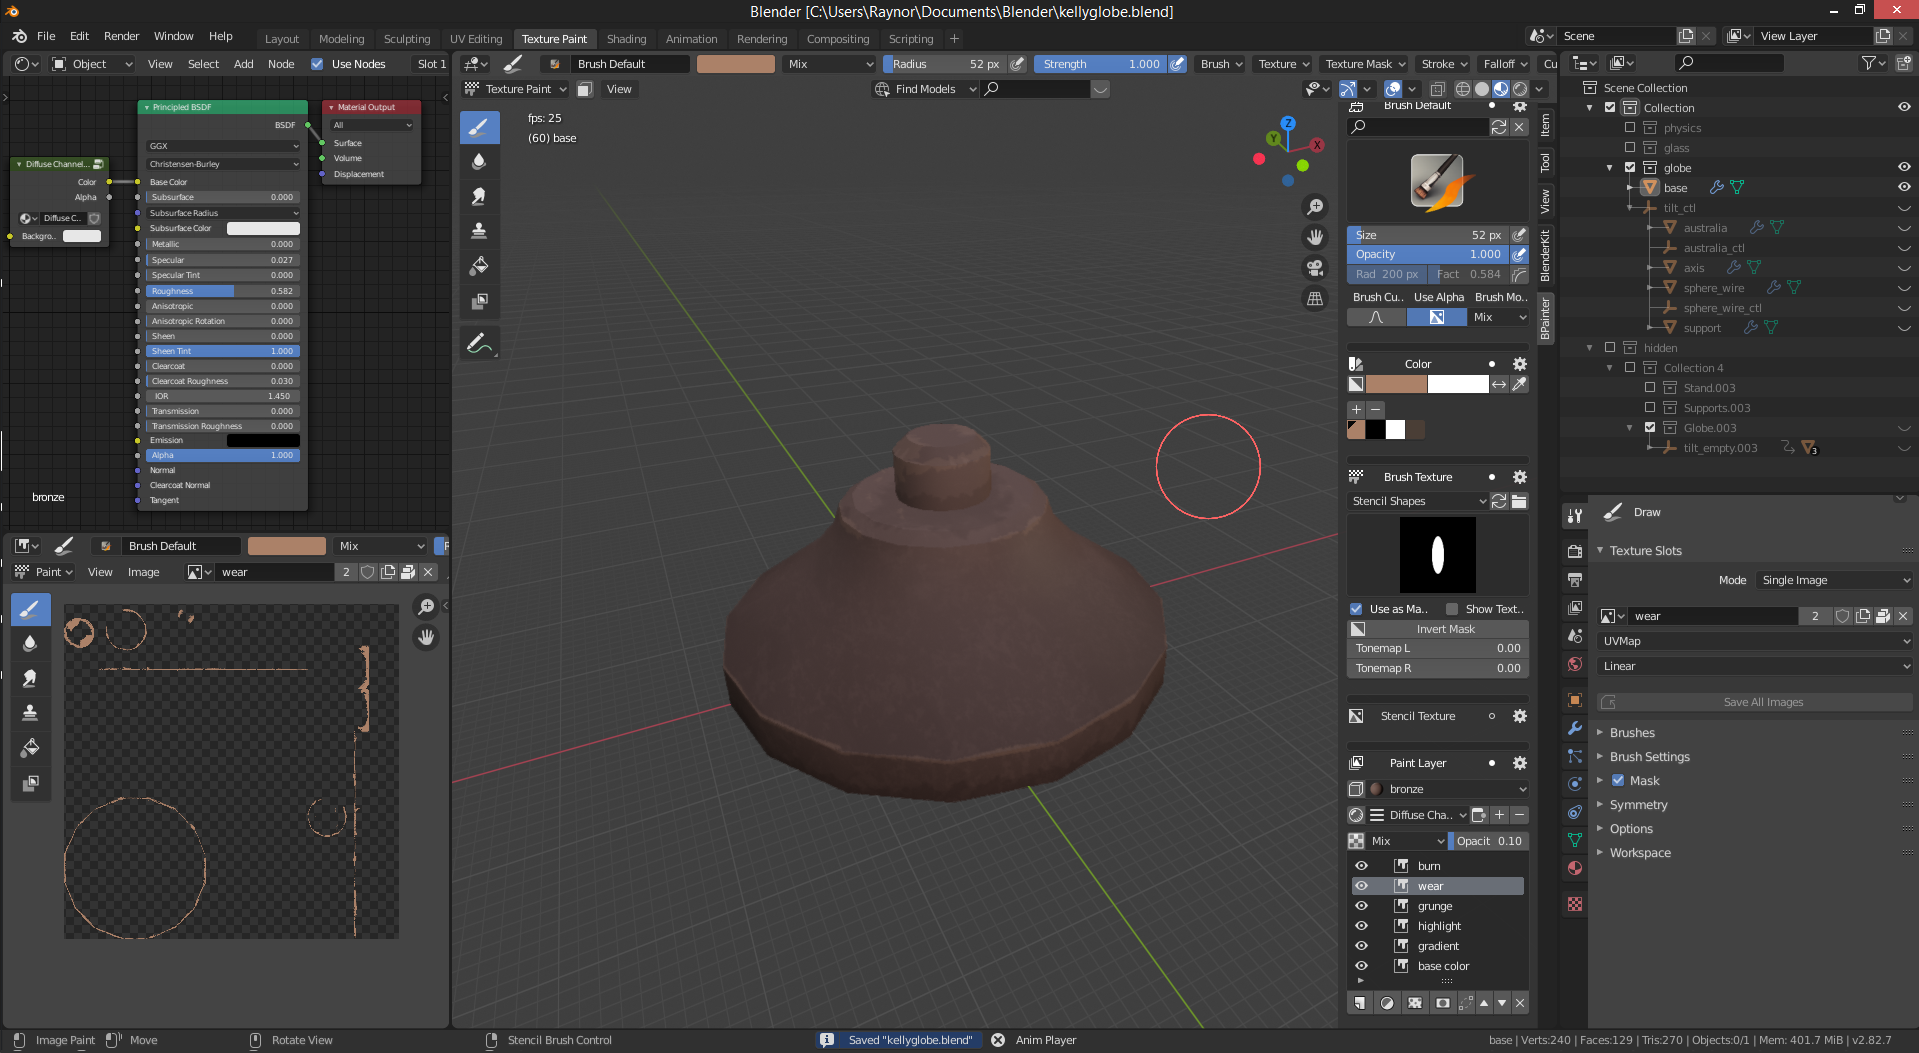
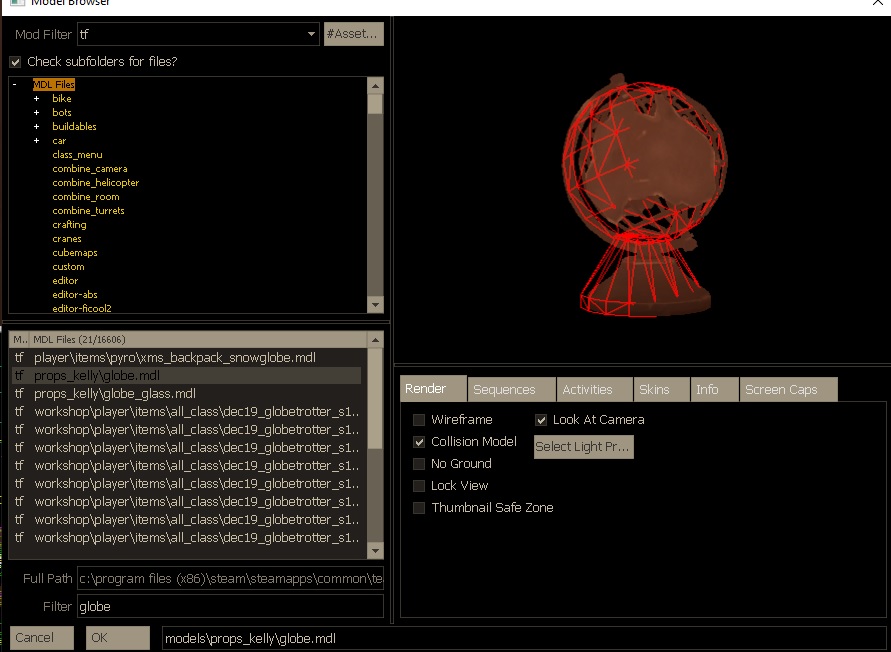
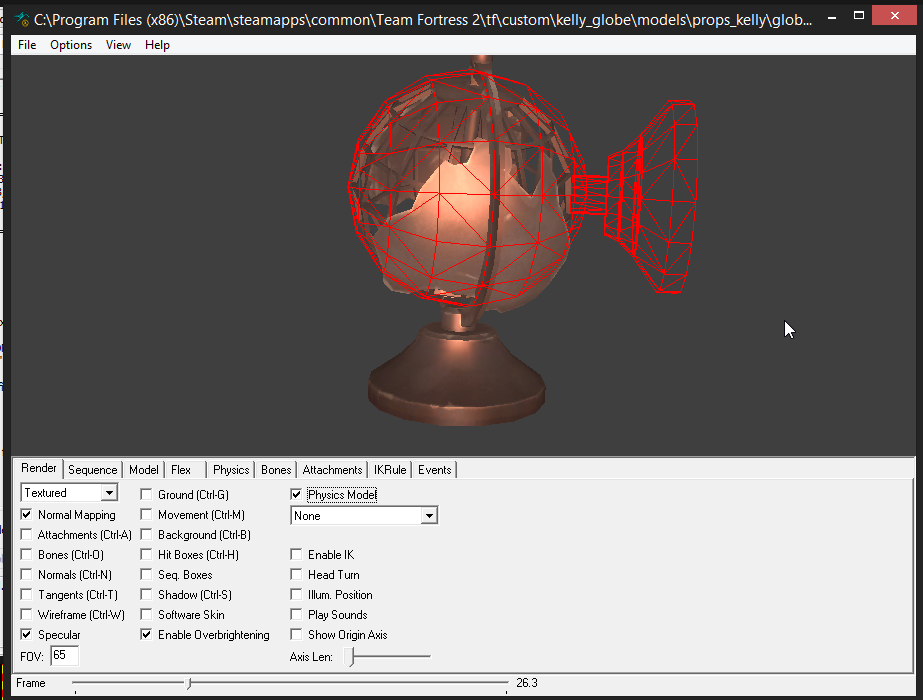
Collision Meshes
Collision meshes are very important for Source, especially since this is in gameplay space, meaning players will interact with it as if its a real object.
One caveat of the engine is that it can't and does not allow concave geometery for collision meshes. You basically have to create multiple discrete meshes that are strictly convex and stack them on each other. If you dont, then it just shrink wraps the collision mesh instead.
Here you can see my many attempts and frustations at getting this right:
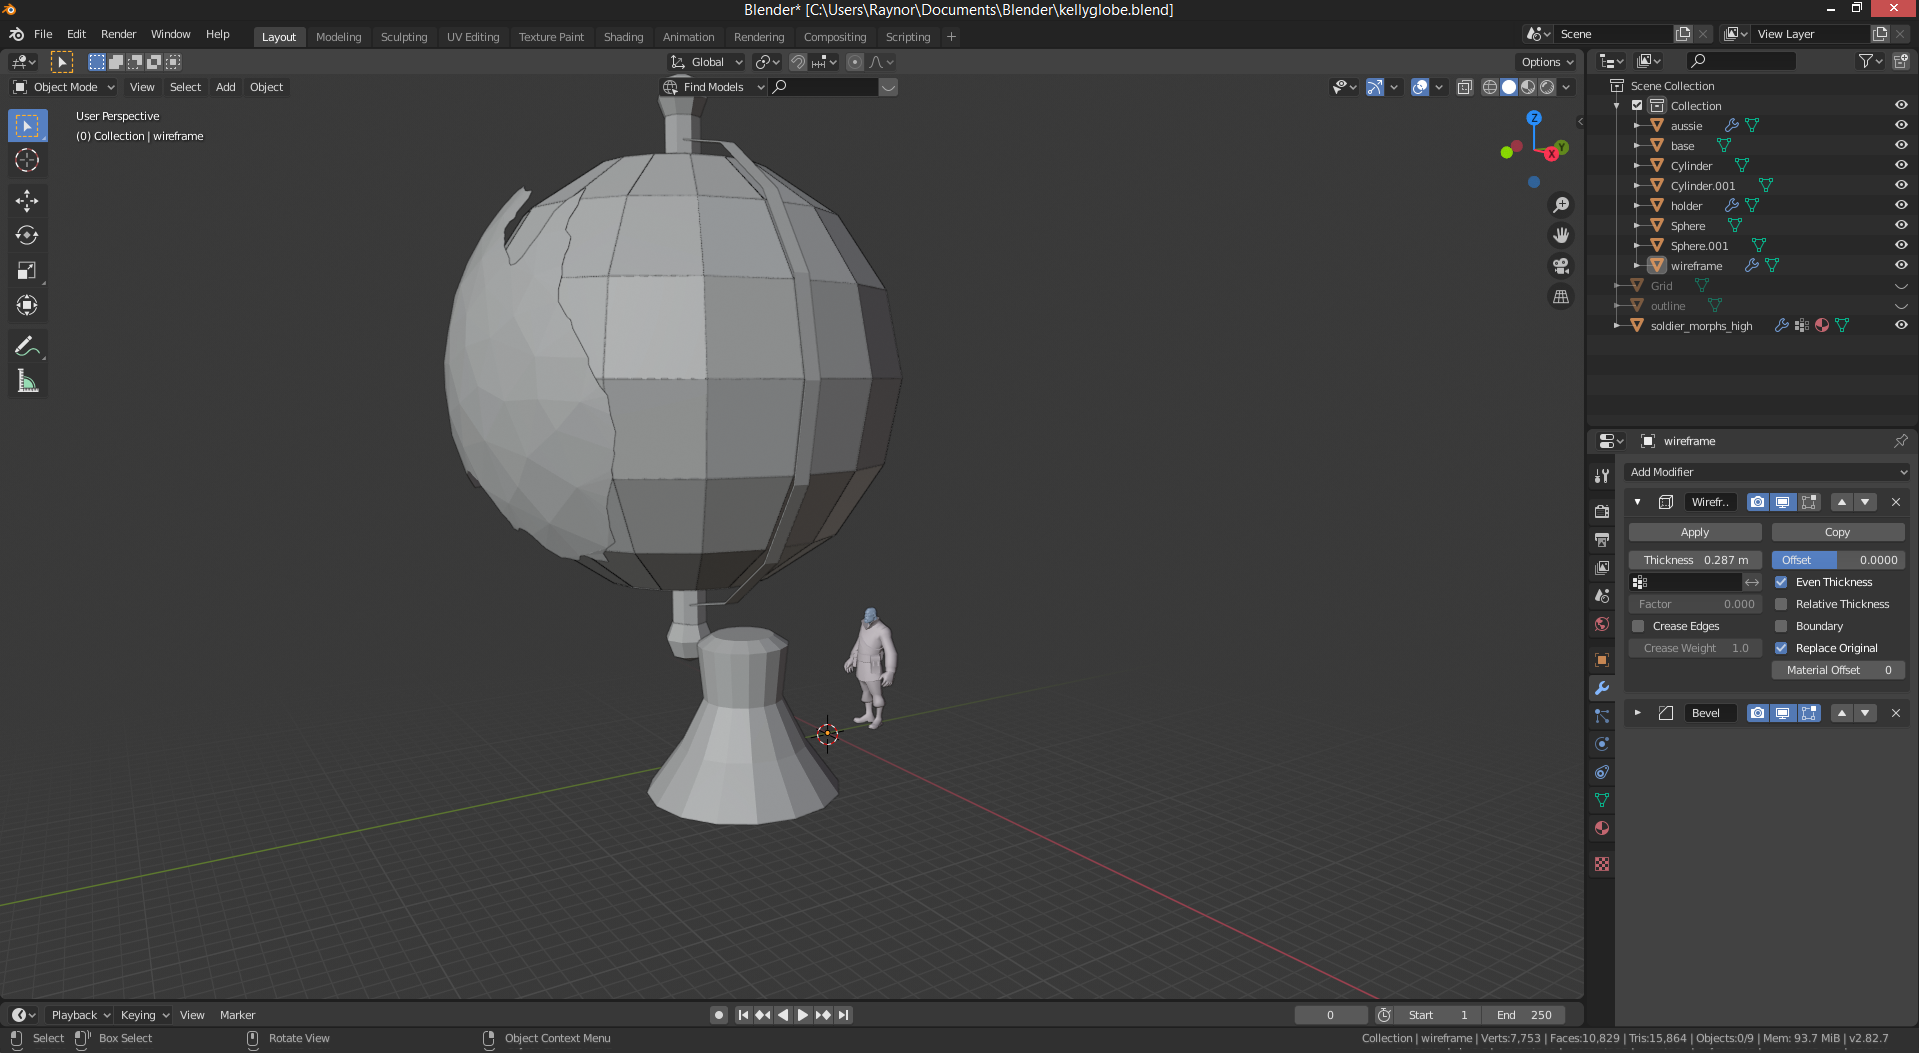
Animation
Megapieman wanted the globe to spin. This seems easy, but is a lot more invovled than one might realize. You have to basically setup a bone rig in blender and have it animate based on key frames. Then you have to export your animation as a separate .smd and add more info to your QC file to tell it this has an animation and how to do it. This took me probably 2 weeks of troubleshooting and frustration to get working right.
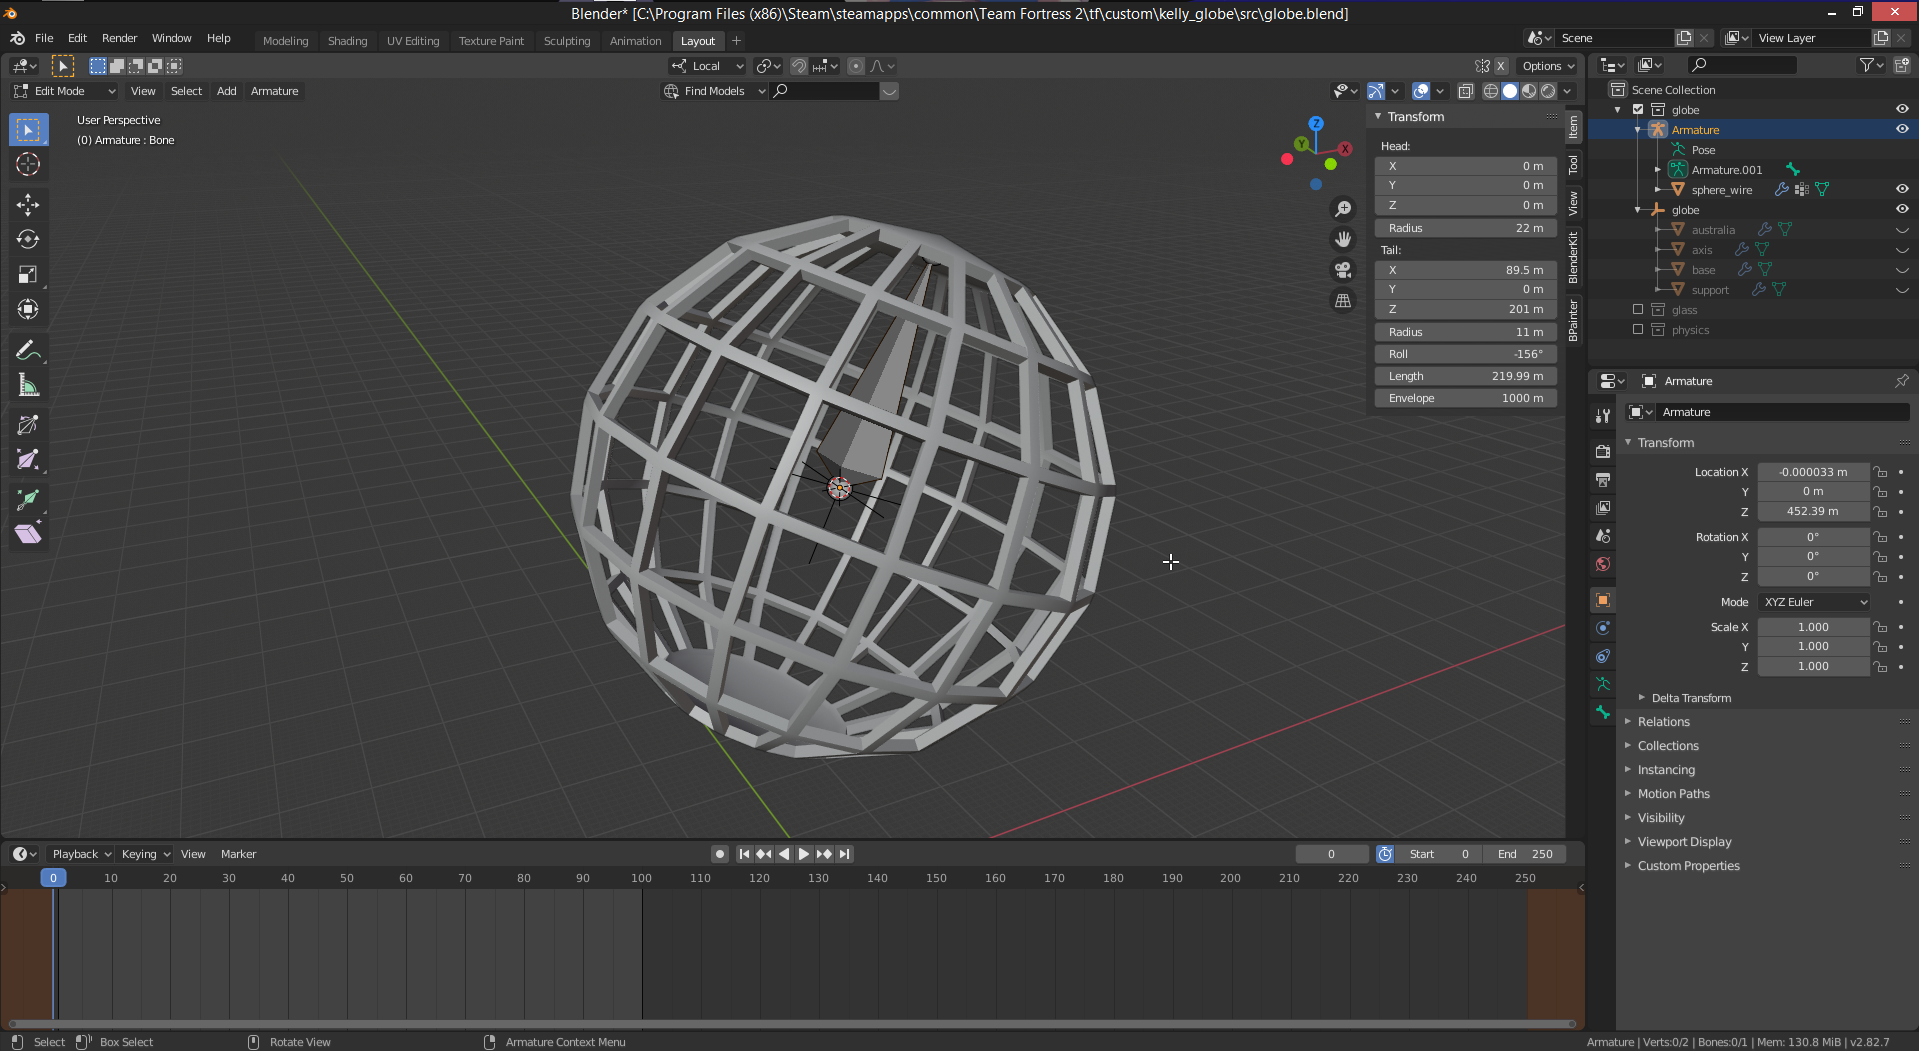
This is the result of all the animation work, just for a simple spin:
Your browser doesn't support HTML5 video
Final Result & Learnings
After having modeled and remodeled things on this several times I finally got it to what I call a finished state. I would say I learned quite a lot from doing this:
- How to get models into and out of TF2
- Modeling using modifiers and procedural methods
- Shrink wrap modifier on the continent
- Array / mirror on the globe lattice
- UV unwrapping a complex object
- Bone animation in Source
- Basics of texturing
- How to use the game shaders to apply texture to the model
- Collision Meshes
And probably dozens of other things I'm not even thinking about. As far as first projects go, I'd say this was a pretty good one, and now its used on the map!
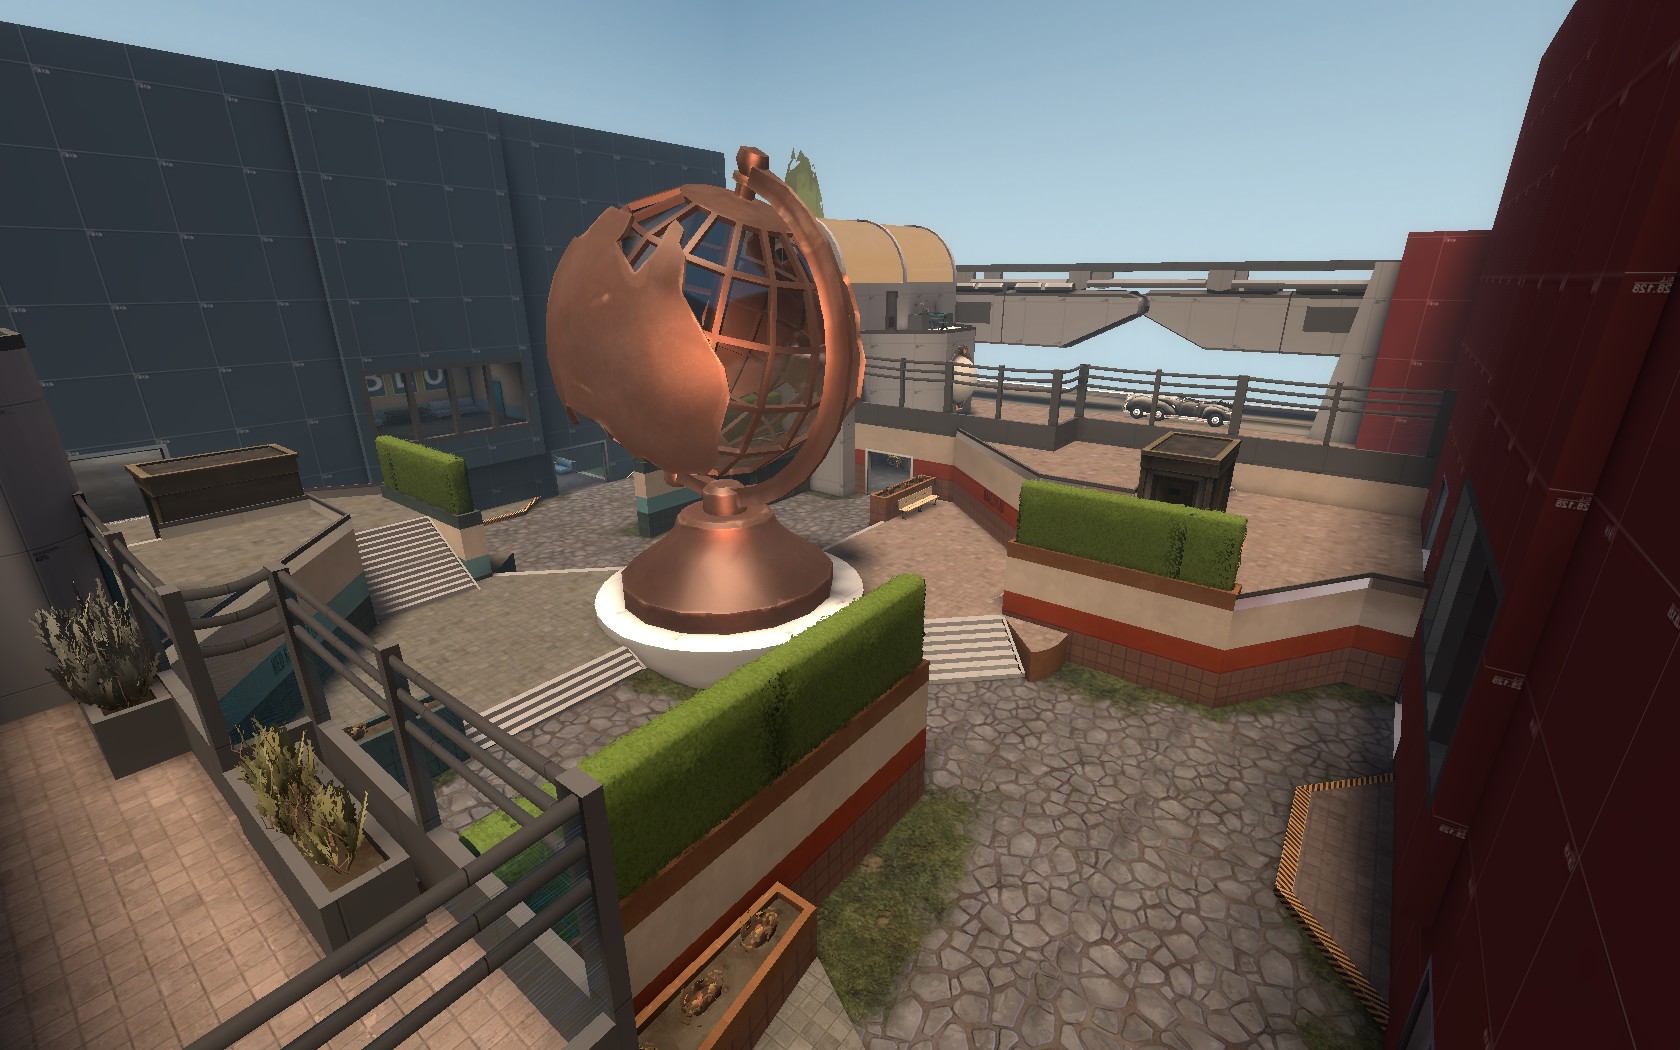
Big shoutout to Megapieman for being such a good sport and allowing me (a complete noob) to work on such an important piece of his map! We are both very happy with the end result.